|
|
Hands-On-Physics
|
Core
|
- Thermostat - |
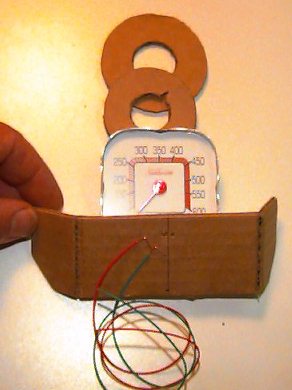
A thermostat is just a switch which turns on and off as temperature
changes. When a switch completes an electrical connection it is "on"
and when it breaks the electrical connection it is "off". The thermometer
you'll use for the thermostat uses a bimetallic spiral to turn a dial. It
is constructed of aluminum which conducts electricity and the dial is used
for the moving part of the switch. This temperature switch turns on when
the motion of the dial makes it touch a stationary contact to complete an
electrical connection. If you are using a new thermometer, take off the
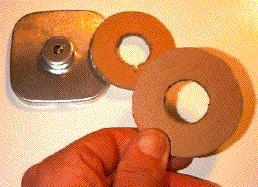
frame and glass. On the back of this squarish thermometer, there's a small
cylinder which holds the bimetallic spiral that moves the dial.
There are three basic problems that must be solved to make this thermometer
into a thermostat.

The problem of the stationary electrical contact(s) may be solved with
a couple of bare copper wires held by a "bridge" built over the
thermometer. Strip about half a cm of insulation from two pieces of hook-up
wire about 10 cm long. Bend the bare wires so they can stick through the
bridge to make contact with the thermometer dial. The bridge must hold the
bare wires stationary over the turning dial of the thermometer. It should
be attached to the end of the incubator about a millimeter above the aluminum
thermometer, so the thermometer can rotate freely. Look at figure C4, at
the top of this page,which shows the completed thermostat with the bridge
covering the bottom part of the thermometer. Cut out a bridge and check
to be sure it fits the end of the incubator. Glue down the wires.
The pieces you have made will go together at the end of the incubator
to become a thermostat for regulating the air temperature in the chamber.