 |
Hands-On-Physics
Introductory Electronics Unit
Messing Around:
ACTIVITY #1
|
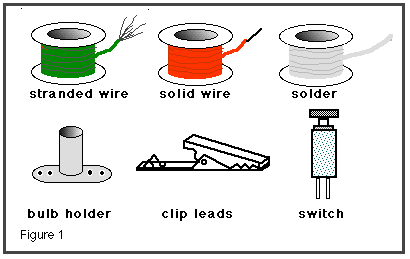
MATERIALS: solder, bulb holders, stranded wire,
solid wire, switches, and tools

Solder flows into small spaces when it is hot, and makes a strong joint
when cool. Solder will not stick on dirty, wet, or oxidized surfaces. When
you plug your soldering iron in it will get hot quickly! All metal
parts of it are hot and should be treated with respect.
1. Touch the end of the solder to the soldering iron, and let the solder
flow over the tip. Wipe the excess off on a damp sponge. The tip of the
soldering iron should remain shiny. This is called tinning the soldering
iron, and it protects the tip from corroding.
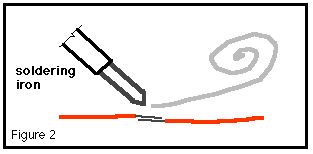
2. Strip two stranded wires, and try to solder them together. Heat the stripped
ends, and melt the solder onto the joint. Let it cool without disturbing
it. Then tug on it and see how strong your joint is. See the diagram below.

The more expert you get, the less solder you will use.
3. Try twisting the wires together before soldering them. Notice that the
solder flows into the twists easily and makes a good joint. However, this
type of connection is harder to heat, pull apart, and fix if you make a
mistake.
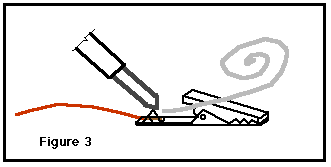
4. Make clip leads. Take about 20 cm of stranded wire and solder each end
to an alligator clip. The plastic sleeve prevents the clips from touching
other metal parts and shorting. Make two of these.

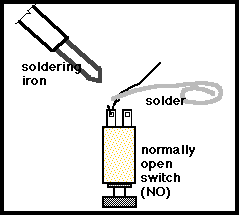
5. When you use switches and bulbs in your circuit you'll need leads
on the terminals to connect them to your circuit board. See the sketch below.
Use solid wire for these leads so they'll plug into the circuit
board.
CAUTION: The push-button switches will melt. To prevent melting,
hold the switch connections with the needle-nose pliers when you solder.
Keep your pliers between the solder joint and the plastic of the switch.

Reporting--Take your connections and clip
leads one at a time, and give them a sharp tug. If they don't break, you
can move on! If they do, fix them.
Previous Page || Up
a Level || Index || Next
Page


